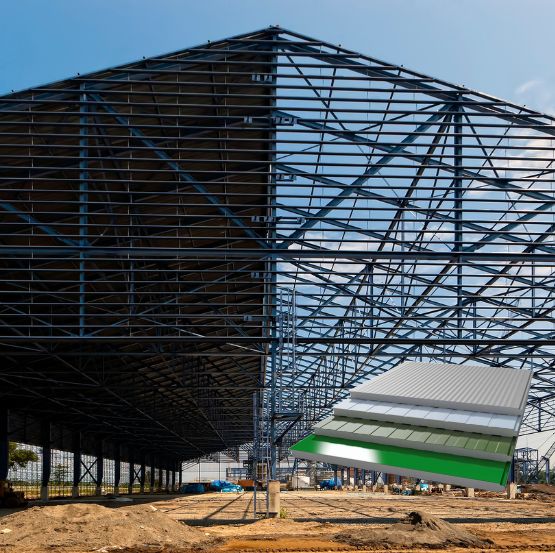
Installing insulated roof panels isn’t just about fixing them in place—it’s about ensuring thermal efficiency, structural strength, and long-term durability. At ALP Industries, we follow a precise installation process for our PUF/PIR/Glass Wool/Rock Wool-based roof panels, engineered to deliver maximum performance from day one.
Whether you’re planning a warehouse, cold room, or industrial shed, here’s a clear look at how ALP Roof Panels are installed for best results.
Step 1: Site Preparation & Measurement
Before installation, our technical team:
- Conducts a site inspection
- Measures the purlin spacing and structural layout
- Confirms load-bearing capacity
- Prepares panel layout drawings
Why this matters: Proper alignment and layout minimize cutting, waste, and installation errors.
Step 2: Panel Handling & Storage
ALP Roof Panels are delivered in protective packaging. On-site:
- Panels are stored horizontally on flat, dry ground
- Handled using lifting belts or soft slings to prevent surface damage
- Stored in a shaded area to protect the insulation core from prolonged UV exposure
Pro tip: Improper stacking or dragging panels can damage the joints and reduce sealing efficiency.
Step 2: Panel Handling & Storage
Ensure the steel or concrete structure (purlins/trusses/beams) is:
- Aligned, clean, and free from rust or debris
- Coated for corrosion resistance (if needed)
- Anchored firmly for wind and load resistance
We also confirm support intervals match the panel thickness for maximum stability.
Step 4: Panel Placement & Alignment
- Panels are lifted one-by-one onto the roof
- The first panel is carefully aligned, as it sets the baseline for the rest
- The corrugated top side faces upward, and the smooth liner faces the inside
Accuracy here ensures proper jointing and aesthetic consistency across the roof.
Step 5: Fixing & Fastening
- Self-drilling screws are placed every 300–500 mm, depending on wind load and span
- Screws are inserted within the V-cut groove, allowing for concealed fixing
- Double screws at 30 mm spacing are used for structural integrity
- Washers and sealing gaskets ensure watertight performance
Key Advantage: ALP’s blind fastening system ensures a clean exterior with no exposed fixings.
Step 6: Joint Sealing & Insulation Continuity
- Double labyrinth joints between panels ensure an airtight seal
- For cold storage or high-humidity zones, PU sealants or butyl tape are applied to joints
- Overlaps and junctions are sealed to eliminate thermal bridging and air leakage
Result: Long-lasting insulation with no thermal loss or water ingress.
Step 7: Trims, Flashings & Finishing
- Flashings are installed at edges, ridges, and junctions
- Gutters, cappings, and bargeboards are fixed
- All penetrations (like skylights or vents) are sealed
Final cleaning is done to ensure a polished look and debris-free surface.
The Result: A Roof That Works Smarter
When installed correctly, ALP Roof Panels offer:
- Excellent thermal insulation (up to 40% HVAC savings)
- Fast construction timeline
- Enhanced strength and load-bearing capacity
- Superior resistance to moisture, weather, and corrosion
- Aesthetically clean finish with no visible screws
Ready for Expert Installation?
At ALP, we don’t just deliver panels—we deliver performance.
Contact us today for expert support on your next roofing project.


